
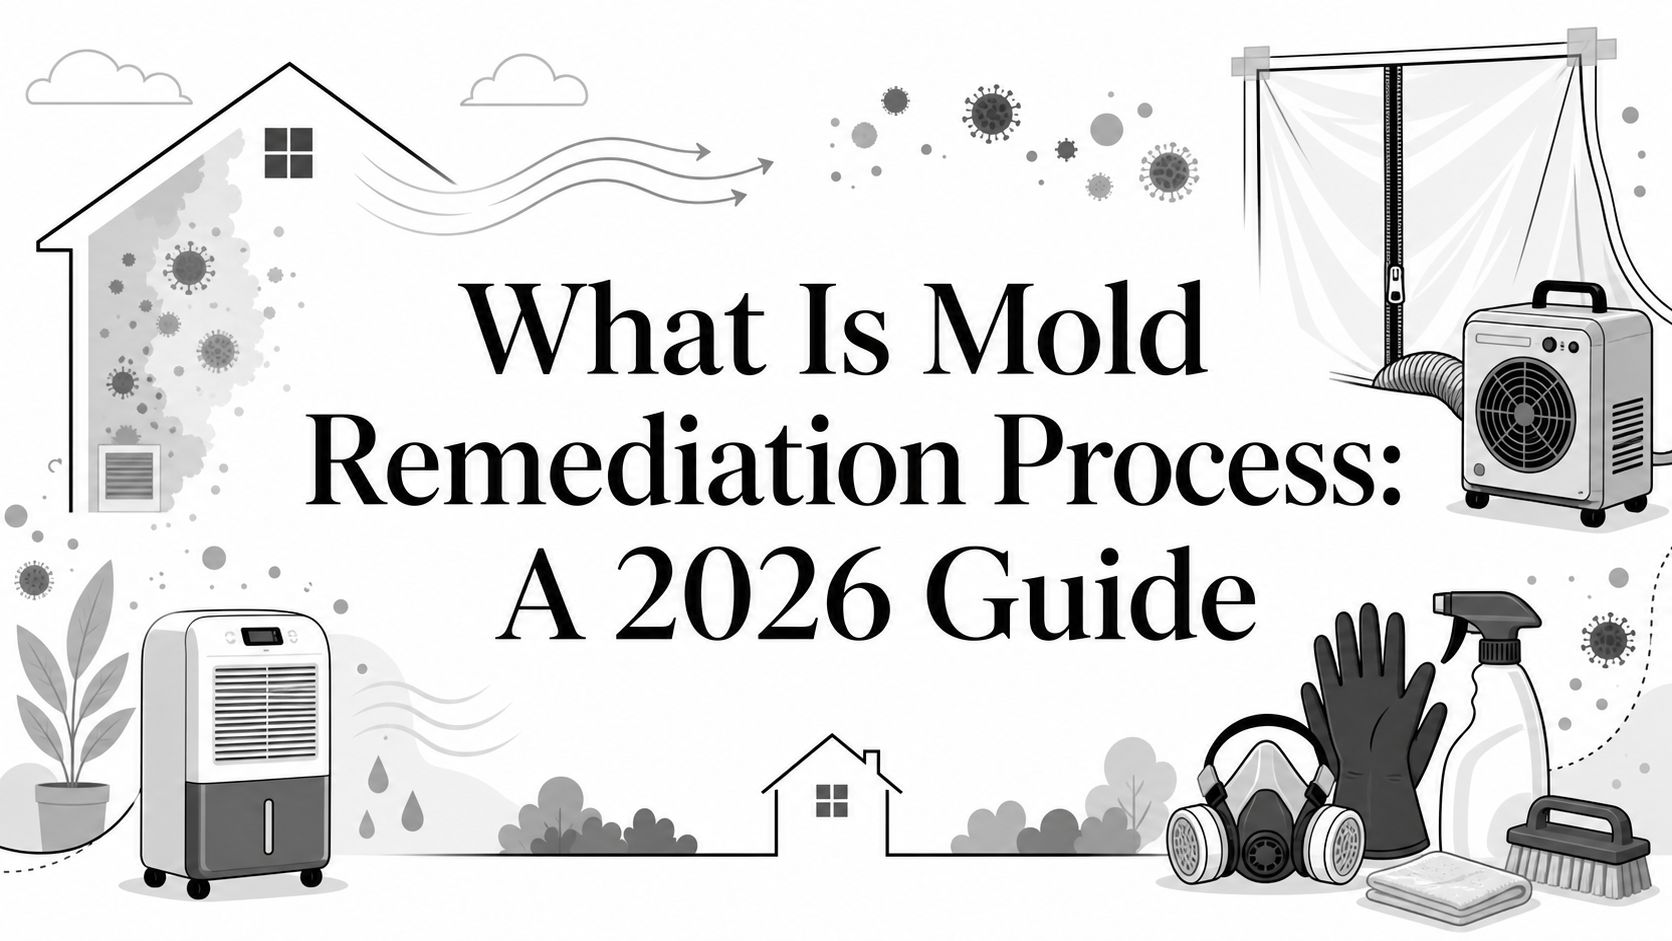
A lot of mold calls start the same way. You notice a musty smell that doesn't go away, even after you clean. Then you find the spot itself. It might be on a bathroom ceiling, behind a laundry room baseboard, under a sink, or near an air vent after a storm or plumbing leak.
That moment gets personal fast. You start wondering if the damage is bigger than what you can see, whether the leak is still active, and whether this is something you can wipe off or something that needs a full restoration response. In Marion County, where humidity, storm damage, plumbing failures, and HVAC strain often overlap, mold usually isn't a stand-alone problem. It's often tied to water damage restoration, storm damage restoration, or even fire damage clean up when suppression water was involved.
That Worrying Discovery and Your First Call
A homeowner in Ocala might smell something sour near the guest bathroom for days before noticing a dark patch above the tile. A landlord in Belleview may pull back a piece of warped baseboard after a tenant reports a leak and find fuzzy growth on drywall. A property manager in The Villages might only learn there's a mold problem after an HVAC closet keeps smelling damp.
That's the point where panic usually kicks in. It shouldn't.

The right first move is to treat visible mold as a water intrusion warning, not just a housekeeping issue. If the problem started low on a wall or near flooring, hidden plumbing can be part of the story. For homeowners trying to connect mold with an unseen leak, this guide on understanding signs of a slab leak helps explain why persistent moisture can show up far from the actual break.
What the first call should accomplish
When a restoration company takes that first call, the goal isn't to give you a guess over the phone. The goal is to narrow down three things:
- Where the moisture is coming from
- How far contamination may have spread
- Whether the area needs immediate isolation
If you're already seeing staining, peeling paint, soft drywall, or repeated moisture after cleaning, the next practical step is a professional mold testing and inspection service so the scope is based on evidence, not assumptions.
Practical rule: If mold is visible, the moisture problem is older or more active than most owners think.
A calm, controlled response matters. The first inspection often determines whether this stays a contained mold remediation project or grows into a larger water damage restoration job involving drywall removal, framing drying, flooring demolition, or HVAC cleaning. That's why the first call isn't about reassurance alone. It's about starting the process that protects the home, the occupants, and the value of the property.
Why Mold Remediation Is Not Just a Cleaning Job
The biggest mistake homeowners make is thinking mold behaves like dirt.
Dirt sits on a surface. Mold grows because moisture keeps feeding it. If you scrub the stain and leave the water source, you've only changed what the wall looks like for the moment. You haven't changed what's happening inside it.
Cleaning removes appearance. Remediation removes the condition.
A bottle of bleach, a rag, and a fan can make an affected area look better for a few days. That's why so many DIY efforts seem successful at first. Then the odor returns, the paint bubbles, or the same wall darkens again after the next humid stretch.
Mold remediation is different because it deals with the source, the spread, and the damaged materials. The work has to account for hidden growth, airborne spores, and materials that can't be saved.
One hard rule from water damage restoration makes that clear. Porous materials like standard 5/8-inch drywall and fibrous insulation must be removed rather than cleaned if wet for greater than 72 hours, because fungal hyphae penetrate below the surface and can't be fully eliminated by surface treatment according to guidance on mold remediation after water damage.
What goes wrong with DIY cleanup
Homeowners usually focus on the visible patch. The risk is what happens during the cleaning attempt.
- Scrubbing can spread contamination if the work area isn't isolated.
- Fans can move spores into adjacent rooms if they're used without a containment plan.
- Paint or primer can hide the problem without stopping regrowth.
- Missed moisture keeps the colony active behind the wall, under cabinets, or inside insulation.
Imagine pulling weeds. If you cut off the top and leave the root in wet soil, you haven't solved anything. Mold works the same way. The patch you see is often only the part that announced itself.
Painting over moldy material is not remediation. It's concealment, and concealed mold usually comes back with a bigger repair bill.
Why this matters in real restoration work
In practice, mold calls often become broader restoration projects. A failed wax ring at a toilet can mean flooring damage. A roof leak after a storm can mean wet insulation, stained ceilings, and structural drying. A kitchen supply line failure can push contamination into cabinets, drywall, and wall cavities.
That's why homeowners asking what is mold remediation process really need a more honest answer. It isn't a cleaning service. It's a controlled restoration procedure designed to stop contamination, remove unsalvageable materials, dry the structure, clean what can be saved, and confirm the home is safe to put back together.
The Professional Mold Remediation Process Step by Step
A proper mold job follows a sequence. It isn't improvised on site, and it isn't based on what looks clean to the eye. The ANSI/IICRC S520 standard governs the process and requires a multi-phase sequence. It also requires isolation of work areas with critical barriers and negative air pressure using HEPA-filtered air scrubbers that capture spores as small as 0.3 microns, as outlined in this industry overview of mold restoration standards.
This is what that looks like in the field.

Assessment and moisture mapping
The first step is inspection, but not just visual inspection. A technician needs to identify where water entered, where it traveled, and what materials are holding moisture now. That usually means moisture meters, thermal imaging, and a room-by-room review of adjacent spaces.
Many projects succeed or fail at this stage. If the moisture source isn't found, every later step is weakened.
Common findings include:
- Window and door leaks after heavy rain
- Plumbing failures behind cabinets or tubs
- HVAC condensation issues in closets and chases
- Roof and flashing leaks above ceiling cavities
Containment and pressure control
Once the work area is defined, it has to be isolated from occupied space. That means building containment with polyethylene barriers and running negative air so disturbed spores stay inside the work zone instead of migrating through the house.
Containment is one of the clearest dividing lines between a real remediation project and a cosmetic cleanup. The setup protects bedrooms, living areas, furniture, and HVAC pathways from cross-contamination.
If a contractor starts tearing out moldy drywall without building containment first, the job is already off track.
For owners dealing with broader storm or flood conditions, this article on how to clean up flood damage is useful background because it shows how fast wet materials can turn into a contamination problem when drying is delayed.
Air filtration during demolition
Air scrubbers with HEPA filtration run during active work. Their job is to capture airborne particulate released when contaminated materials are disturbed.
This stage matters because demolition always creates movement. Even careful removal of drywall, insulation, trim, and affected contents releases debris. Filtration reduces the chance that spores settle where they shouldn't.
A quick visual helps most homeowners understand the workflow before demolition begins.
Removal of unsalvageable materials
Not every material can be cleaned. In mold and water damage restoration, porous items often have to go. Drywall, insulation, carpet pad, particleboard backing, and some wood trim commonly fall into that category depending on exposure and condition.
Removal should be deliberate. Crews cut and pull contaminated sections in a way that limits debris release, bag the waste, and move it out through a controlled path.
A few practical examples:
Bathroom wall cavity leak
The drywall may be removed beyond the visibly stained area because moisture often travels farther than the spot suggests.Storm-damaged ceiling
Wet insulation above the ceiling usually has to be removed before drying and repair can begin.Cabinet toe-kick contamination
Lower cabinet components may need partial disassembly if moisture migrated under or behind them.
Cleaning and structural treatment
After demolition, technicians clean the remaining structural components and exposed surfaces. The exact method depends on the material and the condition, but the principle is simple. Remove settled contamination, not just visible discoloration.
At this stage, some restoration firms, including Eagle Restoration, use dedicated mold remediation and moisture source control workflows alongside air filtration equipment to reduce airborne spores and address odor conditions during the project.
The structure also has to dry before rebuild starts. Replacing drywall over damp framing is how callbacks happen.
Restoration and rebuild
Once the contaminated materials are removed and the structure is dry and clean, the property moves into repair. This can be minor, like replacing a small drywall section and repainting, or more involved, like rebuilding cabinetry, reinstalling insulation, replacing flooring, and restoring trim after a major water loss.
This is why mold remediation often overlaps with other core restoration services:
- Water damage restoration when leaks or floods caused the growth
- Storm damage restoration when roof or window failures let water in
- Fire damage clean up when suppression water and humidity create secondary mold risk after a fire loss
Final verification
A job isn't finished because the demolition is done or because the room smells better. It ends when the site is ready for clearance and reconstruction without active contamination concerns.
That's the practical answer to what is mold remediation process. It's not one action. It's a controlled chain of assessment, containment, filtration, removal, cleaning, drying, and restoration, done in the right order so the problem doesn't move from one room to the next.
Understanding Timelines and Typical Cost Ranges
The two questions every homeowner asks are fair. How long will this take, and what will it cost?
The honest answer is that both depend on scope. A small containment around one bathroom wall moves very differently than a multi-room job involving structural drying, hidden mold, or HVAC contamination. Access also changes everything. A simple laundry room wall is easier than a shower chase, attic corner, or built-in cabinet run.

What the cost range usually looks like
For most homeowners, professional mold remediation falls between $1,500 and $6,000, with a national average of about $2,400. Severe cases involving structural damage or HVAC contamination can rise to $10,000 to $30,000, based on current mold remediation cost guidance.
That range exists because the line items aren't the same from house to house. Cost usually shifts based on:
- Affected materials such as drywall, insulation, cabinetry, trim, and flooring
- Hidden growth behind walls, under flooring, or inside mechanical spaces
- Containment complexity when occupied areas must stay protected
- Drying and repair needs after demolition
- System involvement if air handlers or duct pathways are contaminated
What changes the timeline
Time is usually driven less by cleaning and more by drying, access, demolition scope, and rebuild coordination. Moisture has to be controlled before reconstruction starts. If the original leak is still active or if hidden wet materials keep turning up, the schedule extends.
For a closer look at the variables that affect scheduling, homeowners often find this guide on how long mold remediation takes helpful.
Field reality: The cheapest-looking job at the start often becomes the expensive one when hidden moisture is ignored.
A practical way to think about price
Don't evaluate a mold proposal like a housekeeping estimate. You're paying for:
| Cost driver | Why it matters |
|---|---|
| Containment setup | Prevents contamination from spreading through the home |
| Controlled demolition | Removes damaged material without creating a bigger problem |
| Drying and monitoring | Stops rebuild from happening over wet framing or cavities |
| Specialized equipment | Air scrubbers, moisture meters, and drying tools support a safe outcome |
| Repair work | Returns the space to usable condition after remediation |
A low bid that skips containment, moisture confirmation, or repair coordination often leaves the owner paying twice. First for the cleanup, then for the return visit when the odor, staining, or moisture problem comes back.
DIY Dangers vs Professional Remediation Safety
Homeowners can handle small maintenance tasks. Mold isn't usually one of them once it moves beyond a tiny, isolated surface spot.
The reason is simple. Mold work changes the air in the house the moment contaminated material is disturbed. If the area isn't isolated correctly, the cleanup itself can spread contamination into nearby rooms, closets, furnishings, and HVAC pathways.
The containment rule most people don't know
Containment isn't optional based on preference. It's tied to the size of the visible affected area. Areas under 10 ft² require minimal containment, areas from 10 to 100 ft² require single-layer polyethylene sheeting with negative pressurization, and areas over 100 ft² require double-layer isolation and airlocks, according to the Army mold remediation and clearance fact sheet.
That matters because a lot of DIY jobs start with, "It's only one wall." Once drywall is opened, the wall cavity tells a different story.
DIY Mold Cleaning vs. Professional Remediation
| Factor | DIY Approach | Professional Service (Eagle Restoration) |
|---|---|---|
| Health and safety | Homeowner often works in the affected area without engineered isolation and may disturb spores while scrubbing or tearing out material | Work area is managed as a containment zone with pressure control and job-specific safety procedures |
| Moisture control | Focus is usually on the visible stain, not the leak path or trapped moisture in assemblies | Inspection centers on finding and correcting the moisture condition driving the growth |
| Equipment | Household fans, store cleaners, and basic masks don't create restoration-grade containment | Uses restoration equipment such as moisture meters, containment barriers, and HEPA air filtration |
| Material decisions | Owners often try to save materials that should be removed | Damaged porous materials are evaluated for removal versus cleaning based on condition and exposure |
| Long-term result | Surface may look clean, but regrowth is common when the source remains | Work is built around controlled removal, drying, cleanup, and a path to proper repair |
Where DIY usually fails
- It underestimates hidden spread behind baseboards, cabinets, wallpaper, or drywall.
- It skips the moisture diagnosis that explains why the mold formed in the first place.
- It creates cross-contamination by opening walls without barriers or negative air.
- It turns restoration into renovation after an avoidable spread makes more rooms part of the job.
Mixing cleaning chemicals is another real risk. Homeowners should never improvise with combinations like bleach and ammonia.
For Marion County property owners, the safer rule is straightforward. If you're dealing with recurring odor, visible wall or ceiling growth, water-damaged materials, or any area that may need demolition, treat it as a restoration project. That's how you protect the rest of the home while the affected area is being corrected.
Special Mold Considerations for Marion County Homes
Mold behaves differently in Florida than it does in drier climates. In Marion County, high ambient humidity, frequent rain events, aging window assemblies, active HVAC systems, and storm-related water intrusion create ideal conditions for hidden moisture to linger.
That shows up in specific local patterns. Older homes in Ocala may develop recurring growth around window seals or under bathroom vinyl where small leaks go unnoticed. Homes in Dunnellon and Belleview can trap moisture in garage conversions, enclosed lanais, or utility closets. In The Villages, tight interiors and constant air conditioning can mask moisture problems until odor or staining finally breaks through.
Why clearance matters more here
In humid climates, visual improvement can be misleading. A room may look better and still not be ready to close up. Post-remediation verification with third-party clearance sampling is critical because it confirms indoor spore counts have returned to acceptable levels comparable to outdoor environments, as explained in this post-remediation clearance overview.
That extra verification matters in Marion County because moisture tends to hide in the same places crews see every week:
- Behind shower and tub walls
- Around air handlers and condensate lines
- Under laminate and vinyl flooring
- Inside exterior wall cavities after wind-driven rain
What local homeowners should expect
A Marion County mold project should account for the home as it lives in this climate. That means checking the leak path, checking the drying progress, and being careful about rebuild timing. In this part of Florida, rushing closure is one of the most expensive mistakes an owner can make.
Your Next Step to a Safe and Healthy Home
If you've found mold, smelled it, or suspect it after a leak, storm, sewage backup, or suppression water event, the next move shouldn't be another round of scrubbing. It should be a professional inspection that treats the issue as part of a broader property damage problem.
That's especially true when mold is tied to the services homeowners in Marion County most often need fast: water damage restoration, storm damage restoration, fire damage clean up, sewage cleanup, and structural drying. The mold is rarely the whole story. The moisture event behind it is what determines whether the fix lasts.

If you're weighing repair decisions right now, it's worth reviewing the broader cost of mold remediation so you can compare scope, not just price.
A good restoration response should give you clarity fast. Where the moisture came from. What has to be removed. What can be saved. How the area will be contained. What repair work comes next. That kind of process protects both your health and your property.
If your home or building in Ocala, Belleview, Dunnellon, or The Villages has visible mold, a musty odor, or damage after water, storms, sewage, or fire suppression, Eagle Restoration is available to help you move from uncertainty to a clear restoration plan. Request a free consultation and get a local team that handles emergency response, contamination control, drying, cleanup, and repair with a practical, safety-first approach.


Leave a Reply